ZEISS Microscopy Knowledge Base
Help
ZEISS Microscopy Knowledge Base
Search
Importing files
- To import images, choose Add Files... from the main menu, or drag and drop files or folders onto an open arivis SIS Converter window. You will be guided through the import process and be able to work with your data after the import process finishes.
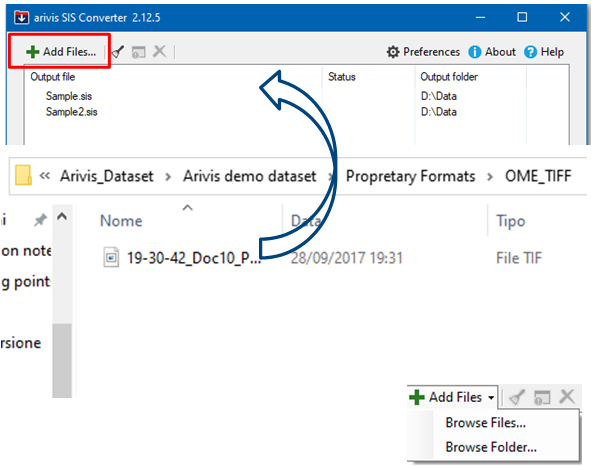
- The selected files are analyzed and, depending on the number and structure of the input files, a dialog box appears.
If your import file is a single, simple image file, the following Import files dialog box is displayed: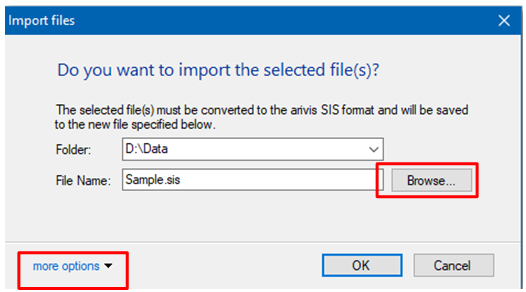
The imported file will be located at the displayed location. - To change the destination file, modify the path manually or use the Browse button to display a file save dialog.

- Click on more options to change the Target Pixel Type or Show file information.
Importing complex or multiple input files
If your input file is complex, or you wish to import multiple input files, different scenarios are suggested in the Import files dialog:
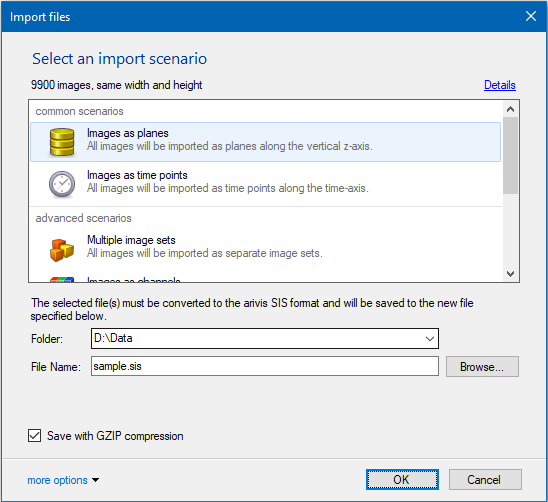
The imported file will be located at the displayed location.
- To change the destination file, modify the path manually or use the Browse button.
- A file save dialog will be displayed.
- Click on more options to change the Target Pixel Type or Show file information.
Modifying the list of files
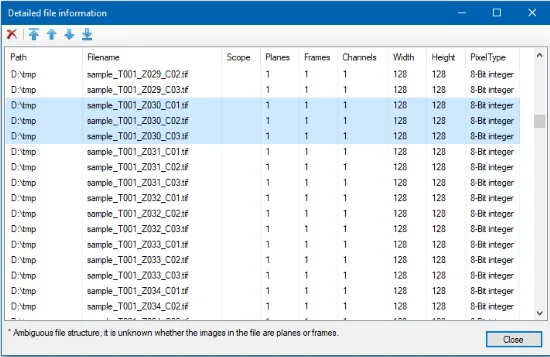
- Open the Detailed file information dialog, which can be found under more options in every import dialog box, to modify the list of files for your import scenario.
- Remove files from the import list and freely change the order in which the input files are imported.