Importing and moving objects in a 3D volume
When importing objects created on another image set, as in the case of atlas regions, it is sometimes necessary to move them to match the destination image set. This article explains how objects can be imported and moved to a new position.
See also
Background
Atlases can be a very useful tool in contextualising segmentation results by allowing the compartmentalisation of objects to specific regions. Creating these regions is often done on a "standard" image set, but when copied over to a new image set slight changes in the sampling can cause a misalignment of the atlas regions with the destination image set. The Copy/Move Objects... function allows the user to move the objects to the correct location.
Importing objects
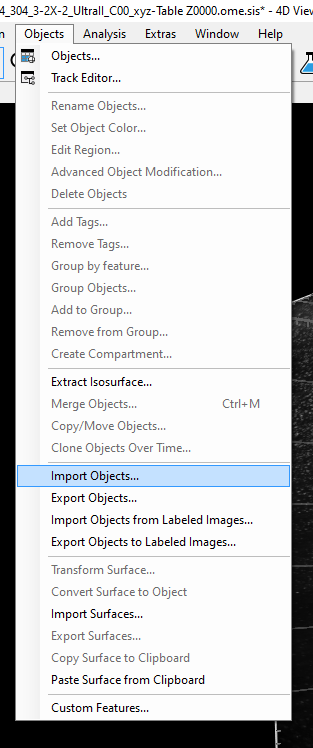
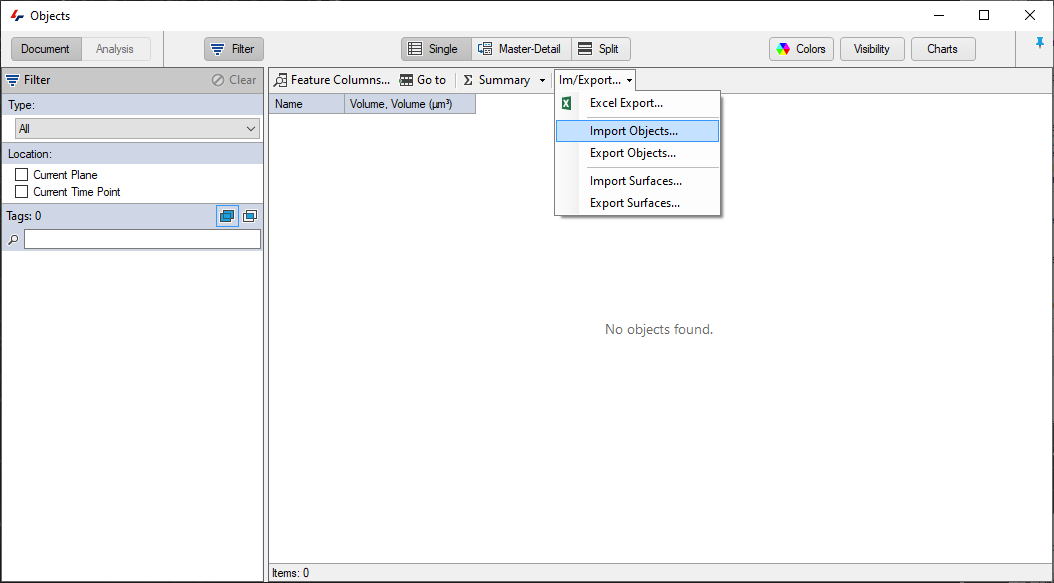
If the objects have been exported as an objects database file (.OBJECTDB), they can be imported simply from the Objects menu or the Im/Export button in the objects table.
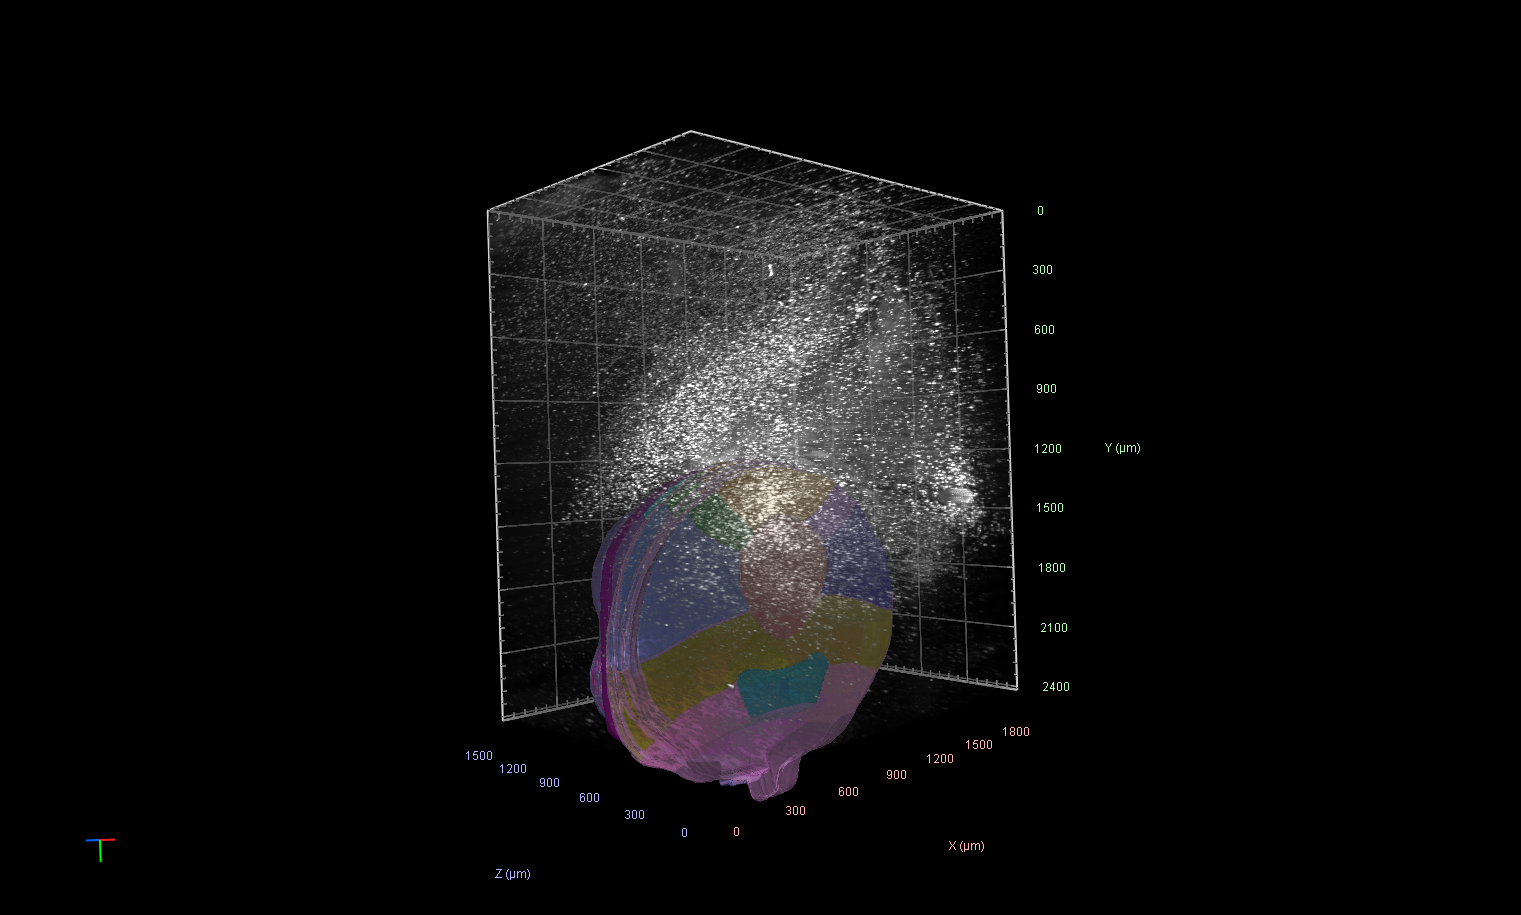
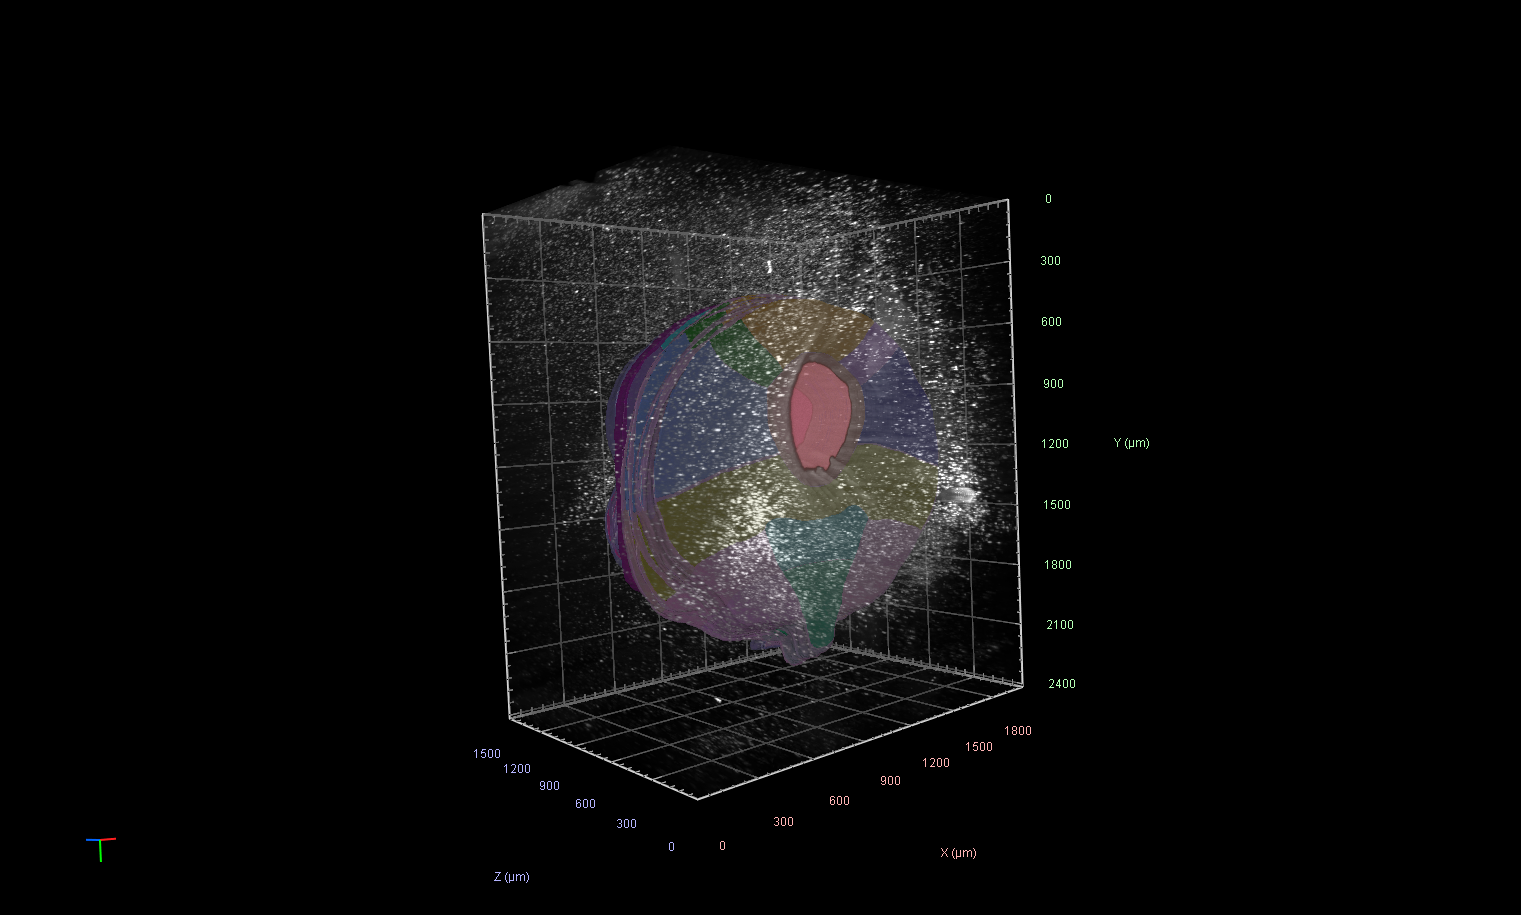
Once imported the objects will appear in the Objects table and the 2D/4D viewers.
Moving objects
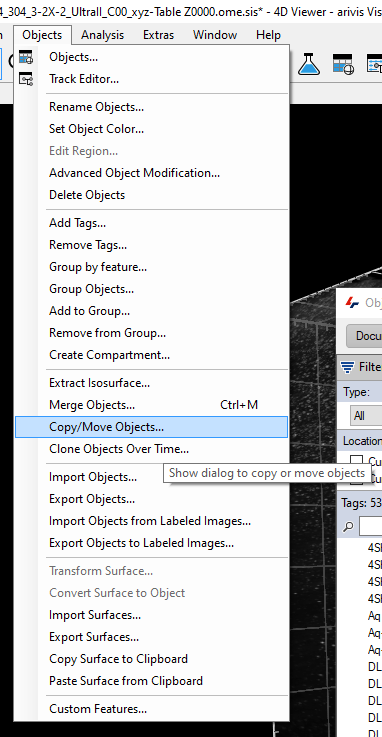
To move the objects we start by selecting all the objects that need to be moved. To do this, simply select any object in the Objects table then press Ctrl-A on your keyboard to select all. Then, in the Objects menu we can select the option to Copy/Move Objects...
This will open a new window where we can select the parameters for the move. In this case we first need to move all the objects 106 planes back up the stack:

Note that the Move option has been selected at the top and we are currently only moving the objects -106 planes relative to their current position. Selecting an absolute position would move every object to the specified plane.
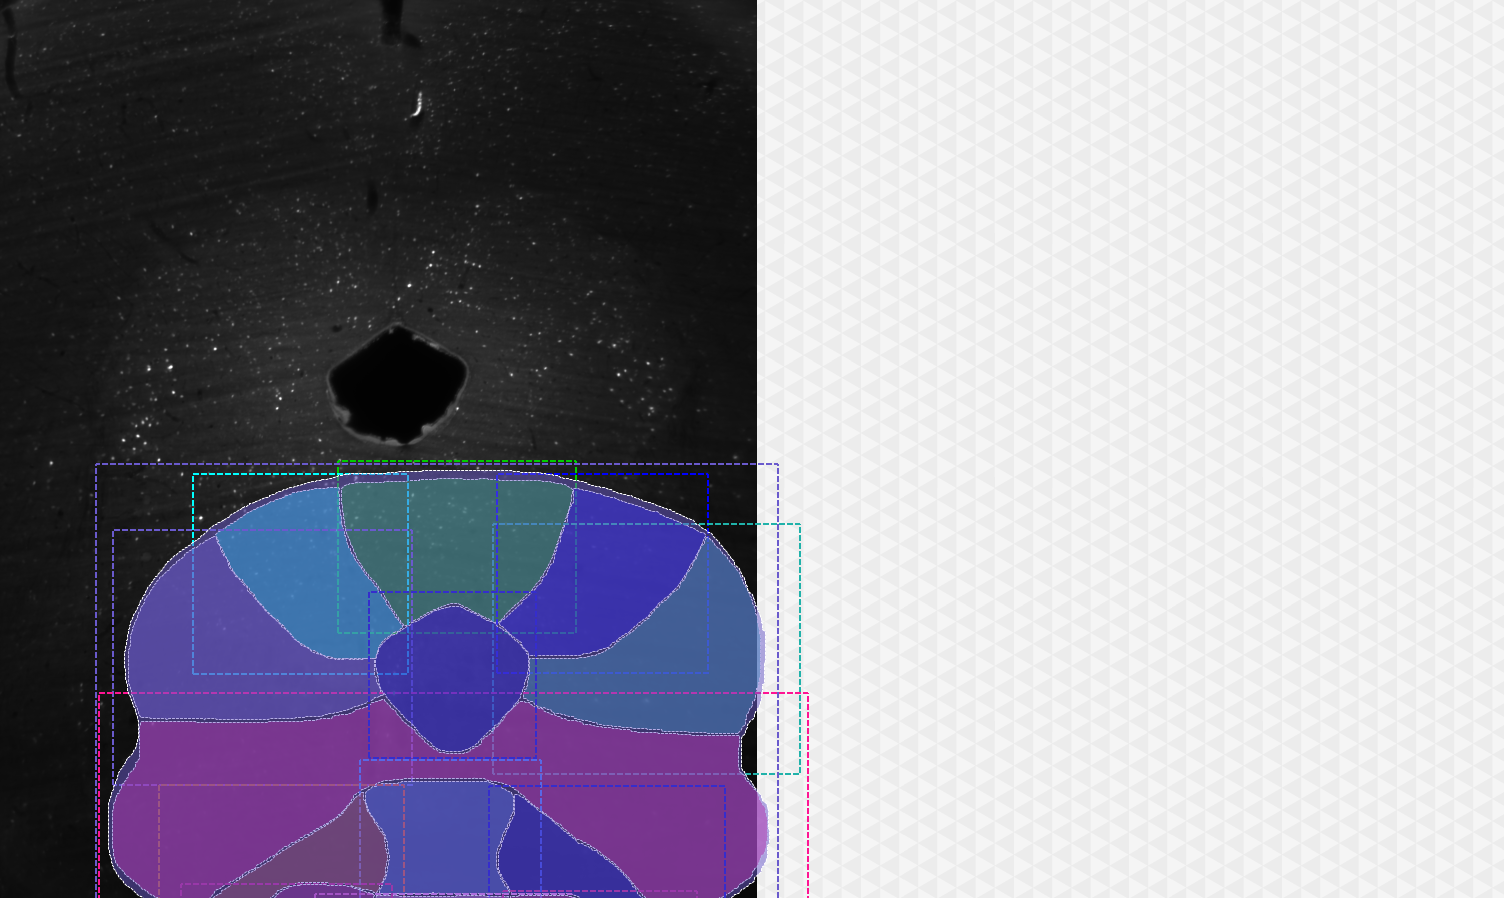
Finally, if an XY adjustment is also required we can use the Move Objects Tool in the 2D viewer to drag them to the correct location:

Video
Image Courtesy
Kirsty Craigie, The University of Edinburgh.