ZEISS Microscopy Knowledge Base
Help
ZEISS Microscopy Knowledge Base
Search
Performing manual tracking on existing segments»
This guide explains how to perform object tracking using existing segments (previously detected).
The segments belonging to the track must be manually selected before applying the pipeline to generate the track.
Opening the working dataset
- Select Open... from the file menu.

- Select the dataset from the file browser.
The dataset is a multi dimensional, discrete, representation of your real sample volume. It can be structured as a Z series of planes (Optical sectioning) of multiple channels (dyes) in a temporal sequence of time points (located in several spatial positions).
Usually, the dataset shows a single experimental situation (a complete experiment can be composed by several datasets). The datasets are available as graphic files saved in plenty of file formats (standard formats as well as proprietary formats).
Note: The dataset is visualized according to the current rendering setting parameters. Refer to the arivis Pro Help for more details.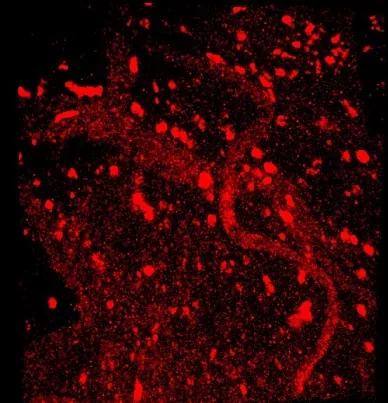
Detecting the objects
- Run the appropriate pipeline to detect the segments over time.
- If required, apply the pre-processing steps followed by the Segmentation tools.
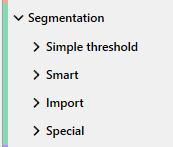
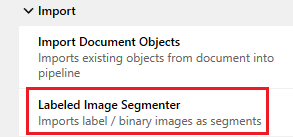
Any segmentation operator can be used to generate the segments. Blob Finder, Watershed, Machine learning tools are available and applicable accordingly to the dataset features. - The segments can also be generated importing labeled images.
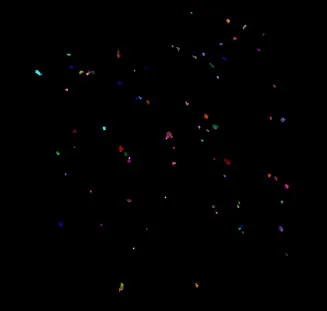
- The segments must be detected over time. Therefore, all the time points should show the found objects.
Selecting objects manually
- Set the active time point as time #1.
The time points can be manually selected in the following ways:
Using the scroll bar in the Navigator panel.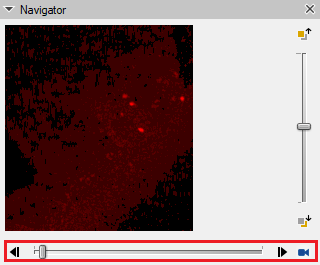
Using the time tools on the main icon bar (must be set in the preferences).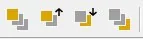

Using short keys. By default, the time changes are assigned to the CTRL + B / Ctrl + F keys (the keys assignement can be changed in the preferences).
Note: The short key method is the suggested one. - Set the active cursor mode as following (mandatory):
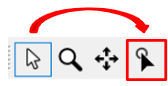
- Switch back to the white arrow if you need to interact with the volume.
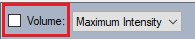
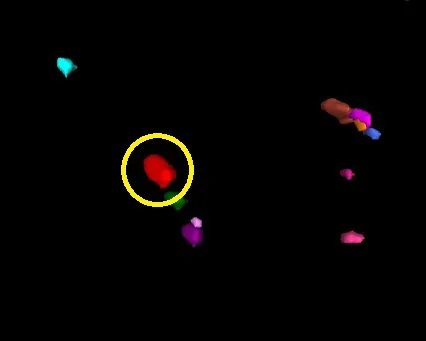
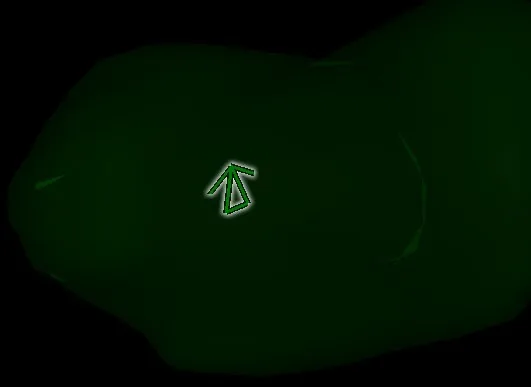
Note: The volume visualization can be disabled if necessary (only in 4D view mode). - Click on the segment you want to identify to be tracked.
- The segment will be highlighted either on both the image and on the object table.
- Go to the next time point (Ctrl + F).
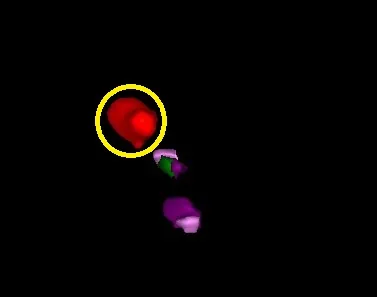
- Click on the same segment to identify it.
- Keep the Shift key pressed while clicking on the object.
- The segment will be highlighted either on the image and in the object table.
- Repeat the selection until the segment path is completed.
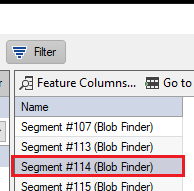
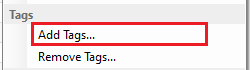
Note: From the second time point up to the end of the segment selection (over time), the Shift key MUST be kept pressed while clicking on the object. - On the object table, right-click on one of the selected segments (grayed) to identify it.
- From the pop up menu, select Add Tags...
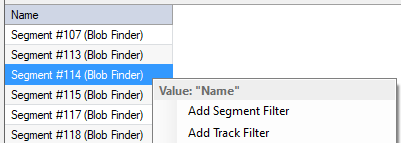
- Type in the new TAG name (e.g. Track#1). Press Add Tag.
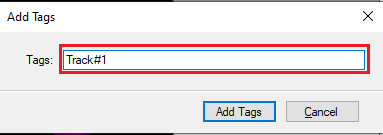
Note: Don‘t click anywhere else. This will deselect all the segments. - The new TAG is shown inside the object table. It includes all the selected segments (please check).
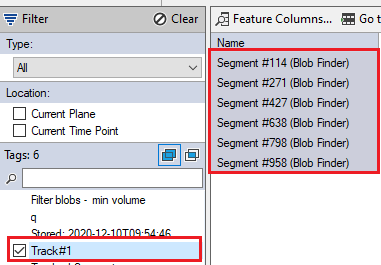
Multiple segments can be grouped in different tags following the described procedure.
Tracking pipeline execution
The tracking pipeline must be created. Here below an example:
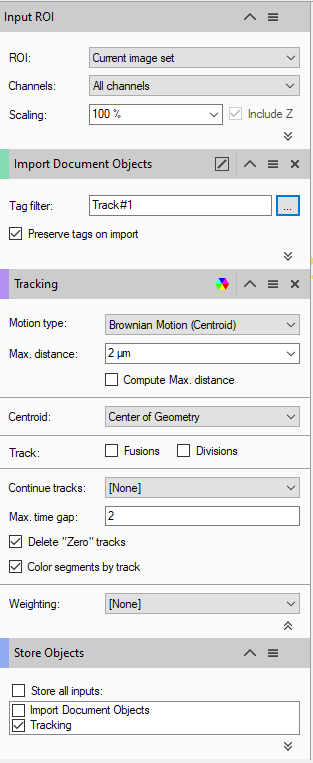
Input ROI
- ROI: Sets the processing and analysis target space.
- Current Image Set: The complete dataset (XYZ and time) is processed.
- Channel: Not important for this task. Select All Channels.
Import Document Objects
- Tag Filter: Sets the TAG(s) previously created (Track#1 and so on) from the manual object's selection procedure.
- Tracking: Set the parameters to track the selected segments according to the object's behavior.
- Store Objects: Set the data to be transferred to the objects table.
The Tag Filter can import multiple TAGS, each one will generate a single track.
Viewing the results
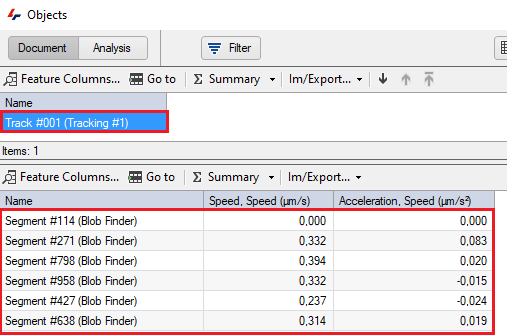
The track is computed and the data will be transfered to the object table.
The needed features can be selected by using the Feature Columns tool.
Editing tracks
- To modify the tracks, open the Track Editor.
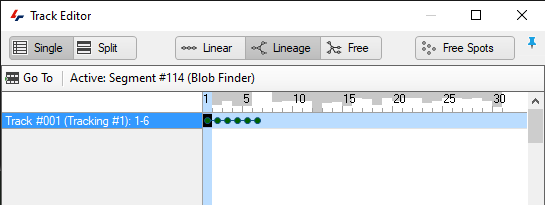
- The tracks are listed on the left panel. The tracked objects belonging to the specific track are shown on the right panel.
- Click on the track.
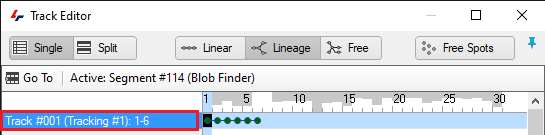
- Select the time point and the segment to be edited. The related frame is shown in the viewing area. The track and the segment are highlighted.

- Right-click on the selected time point.
- A pop up menu is displayed.
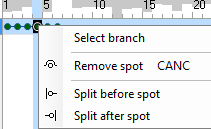
The track can be splitted and merged with another one. The segments in the track path can also be deleted.