Shuttle & Find
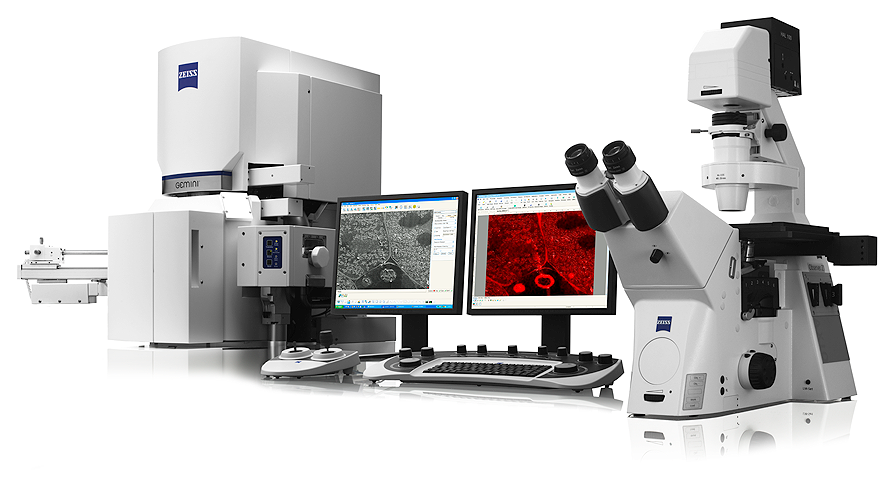
This module enables you to locate sample positions in two different microscopes, e.g. a light microscope and a scanning electron microscope (SEM). Afterwards you can correlate the two images to one merged image. This technique is called correlative microscopy or just "CorrMic". It is used to combine the two worlds of scanning electron microscopy and light microscopy and brings it together in one image. To use the functionality, you need a license for the Connect Toolkit.
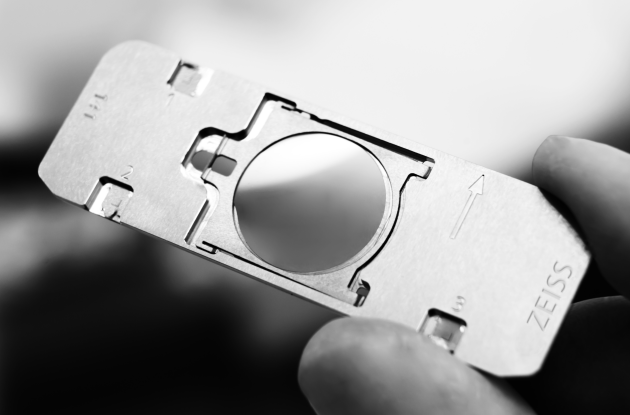
The samples can be mounted in special designed correlative holder systems (with three correlative calibration markers) from ZEISS. Also user-defined holder systems with three calibration markers can be used. Biological samples are mainly deposited on cover glasses or on TEM grids. In contrast to biological samples, the shape and size of material samples vary strongly. In respect to these requirements, the correlative holders were designed accordingly.
Correlating Two Loaded Images
- You have acquired and loaded two images containing S&F calibration data (e.g. LM/SEM) to be correlated. If the images are not oriented identically, you can use the Mirror Image buttons under Options on the S&F Correlation tab.
- You see the two images next to each other (splitter view) in the center screen area. If not, drag your images from the Images and Documents gallery into the center screen area.
- Click on the Set correlation points button in the S&F Correlation tab.
- The cursor will change to a pipette symbol.
- Click in the left image to set a correlation point. Set all 3 marker points in the left image first, before you set the corresponding 3 markers in the right image. If a correlation point is set, a check mark icon will appear in front of the corresponding point.
- Make sure that the positions in both images are identical. After you have set all 6 points the cursor will be changed backwards from the pipette to the arrow.
- Click on the Create Correlation button.
- The correlated image will be generated and opened in a new image container.

Tips & Tricks
- It is also possible to set each correlation point individually. Therefore under Left Image/Right Image click on the Arrow button behind a point (e.g. Point 1). Then click on the desired position within the image.
- To improve the accuracy of the identification you can zoom into the images by using the mouse wheel.
- To edit/move a point, click on the point you would like to move. When the point is marked with a dashed rectangle you are able to move the point by holding the left mouse button. Alternatively, below Left Image/Right Image click on the points Arrow button you want to move and click on a new position within the image.
Correlation of Live Image and Loaded Image
- You have activated the Live mode.
- Select the S&F view in the Center Screen Area and click on the S&F Correlation tab.
- The splitter view will become visible in the Center Screen Area. In the left image container you see the live image.
- Drag the corresponding LM image from the Documents and Images Gallery into the Center Screen Area.
- Click on Set correlation points button to set the correlation points. Always start with setting 3 points in the left (live) image, then continue with setting the identical points (in the same order) in the loaded image.
- After setting all 6 correlation points the image correlation will be performed automatically.
- The correlated image will be visible in a third image container below the live image and the loaded image.
Shuttle & Find with an EVO 10
To use Shuttle & Find (SW and correlative holders) with an EVO 10 make sure that the stage limits (for x, y and z) are set as follows: 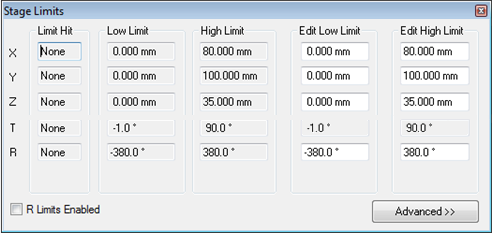
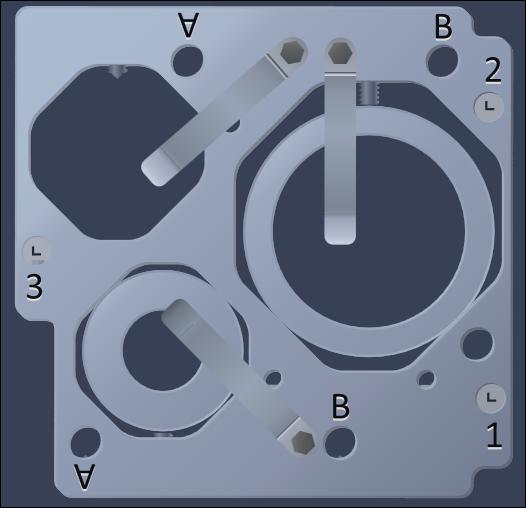
Holder Positions
The holder positions must be oriented like shown in the images
NOTICE

If you set a wrong orientation the stage cannot be moved to all correlative markers because of the stage limits for the EVO 10.
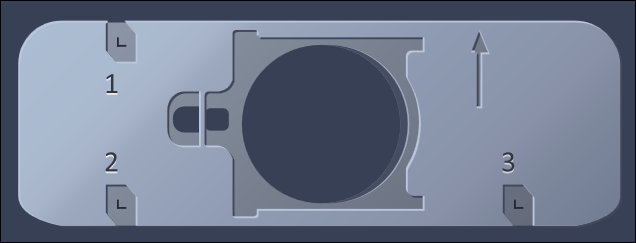
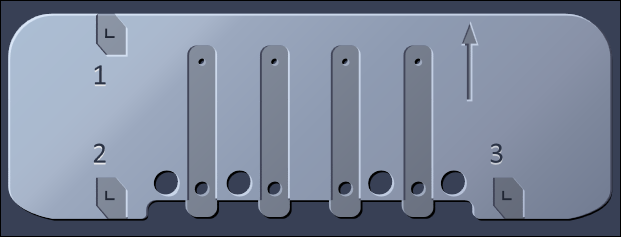
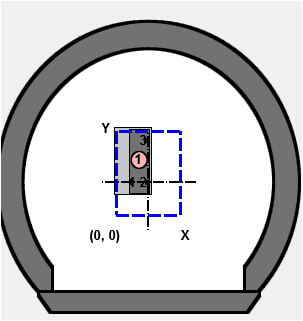
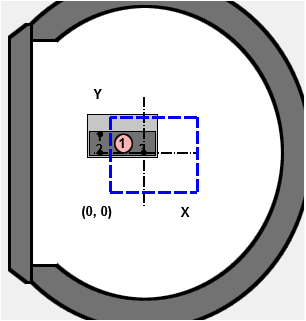
- The holder has to be mounted into the EVO in that the way that the correlative markers (1) and (2) have to be near the chamber door whereas marker (3) is located furthest from the chamber door (see Mounting A/B).
- If necessary, the SEM image can be rotated according to the LM image using the option Scan Rotate in SmartSEM.
|
Mounting A:
|
Mounting B:
|
User Interface
|
1 |
Shuttle & Find View |
|
2 |
Shuttle & Find Tool |
|
3 |
Shuttle & Find View Options |
See also
Shuttle & Find Tool
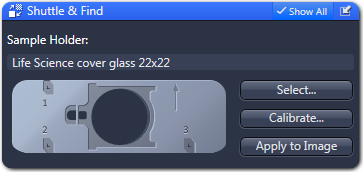
Here you choose and calibrate your sample holders. The tool is visible only if you have activated the Shuttle & Find checkbox in the Experiment Manager.
|
Parameter |
Description |
|---|---|
|
Sample holder |
Here you see the name and preview of the selected sample holder. |
|
Select... |
Opens the Select Template dialog. There you select the preferred sample holder or define new holder templates, see Selecting the Sample Holder. |
|
Calibrate... |
Opens the Sample Holder Calibration Wizard. There you can calibrate the selected sample holder. |
|
Apply to Image |
Only visible if the Show All mode is activated. Use this button only when you forgot to calibrate the holder before you acquire the image. Applies a calibration to an acquired image. Do not remove the sample out of the correlative holder between image acquisition and calibration. |
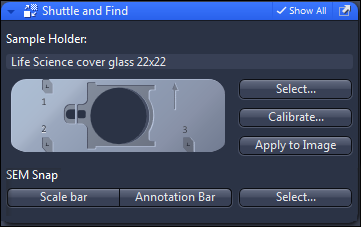
Shuttle & Find tool for SEM
Only visible if you have started the ZEN SEM software.
The tool window is adapted to the requirements of the correlative workflow on a SEM. Therefore three additional buttons are available.
|
Parameter |
Function |
|---|---|
|
Scale bar |
Adds a scale bar to the snapped (acquired) image. |
|
Annotation bar |
Adds an annotation bar to the snapped (acquired) image. |
|
Select... |
By clicking on this button a dialog opens to select parameters for the annotation bar. You can select max. 9 parameters for the annotation bar. |
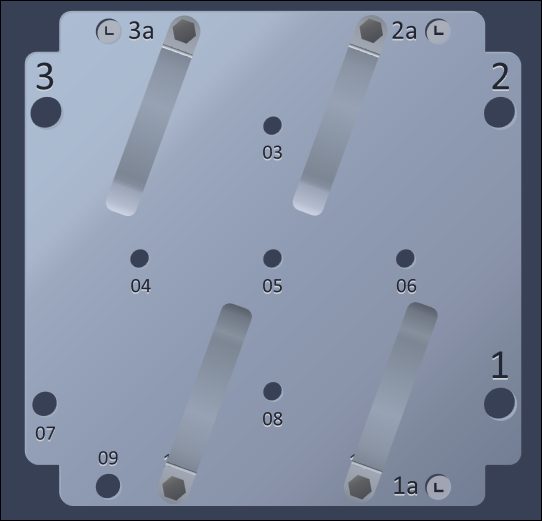
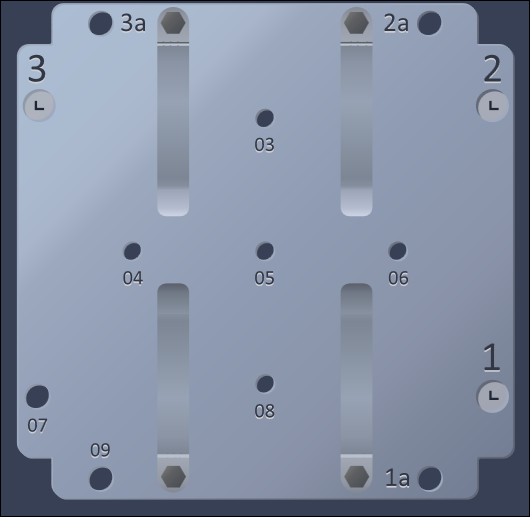
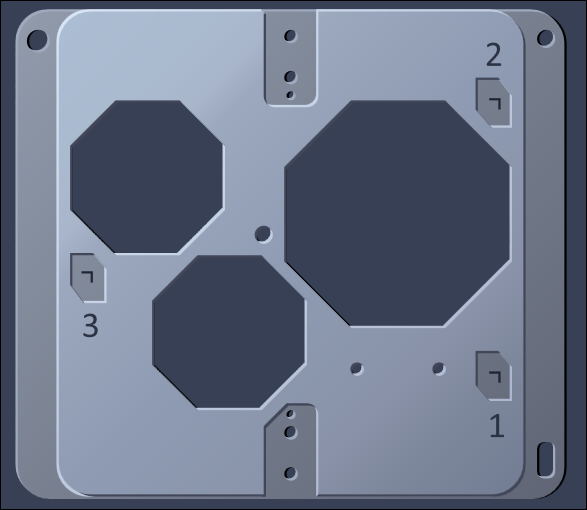
Correlative Sample Holders
|
Name |
Image |
|---|---|
|
Life Science cover glass 22 x 22 |
|
|
Life Science Cryo Holder |
|
|
Life Science for TEM Grids |
|
|
Cover glass with fiducials 22 x 22 |
|
|
MAT Flat Stubs A |
|
|
MAT Flat Stubs |
|
|
MAT Universal A |
|
|
MAT Universal B_A |
|
|
MAT Universal B_B |
|