Handling of Images and Data
Zooming to Extent
- You have loaded a ZEN Connect project.
- In the button bar below the Image View, click the
 Zoom to Extent icon.
Alternatively, click on the Context menu button and select Zoom to extent.
- In the Image View, the sample holder is centered. All images in the ZEN Connect project are displayed.
See also
Panning & Zooming
- In the button bar below the Image View, click the
 Pan & Zoom icon.
 - With your mouse you can pan and zoom in and out in the Image View.
Shortcut for panning
- Press the mouse wheel and move the image. Alternatively, press the Alt key and left click the image.
- You can use panning without having to click the Pan & Zoom icon.
See also
Selecting Region
You select a region to later apply the Alignment Mode to the image contained in this region.
- You have loaded a ZEN Connect project.
- In the button bar below the Image View, click the Select Region icon. Alternatively, press the CTR key, and click the desired image in the Project View.
- The image in the selected region is activated.
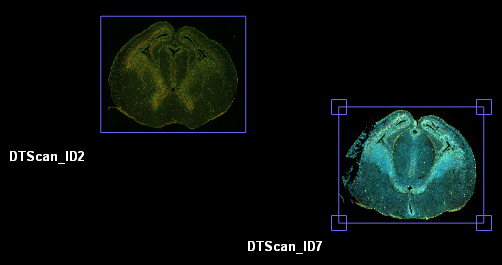
- In the ZEN Connect tool, both in the Project view and in the Layers view, the image within the selected region is highlighted.
Toggling the Display of Region Caption and Frame
For a better overview, you can toggle the display of the image name and of the frame of images in the Image view of your ZEN Connect project .
- You have loaded a ZEN Connect project.
- To toggle the region caption, in the button bar below the Image View, click the A button.
- The region caption of the images is displayed or hidden.
Selecting and Clearing Carrier/Holder
The sample is usually mounted on a carrier or directly on a sample holder. Select the appropriate sample holder for your configuration when you configure your project.
We offer specific sample holders and carriers with certain markers, e.g., "L"-markers or others. These CorrMic sample holders are necessary for a Shuttle & Find workflow. Note: If you change the holder/carrier after a S&F calibration, the S&F calibration needs to be redone.
- You have loaded a ZEN Connect project.
- In the button bar below the Image View, click the Select Carrier/Holder button.
- Select a template you want to add to your ZEN Connect project, and click OK.

- The frame of the selected template is displayed in the Image View of your ZEN Connect project.
- To deselect the carrier/holder, click the Select Carrier/Holder drop down list and select Clear/Carrier Holder.
For information on correlative sample holders, see Correlative Sample Holders.
See also
Grabbing an Image
You can create an image from the loaded ZEN Connect project.
- You have loaded a ZEN Connect project.
- In the button bar below the Image View, select the Grab Image button.
- A new tab opens. In the Image View, the grabbed image is displayed.
- Right-click and save the image to your computer.
- You have saved the image. It is not part of your ZEN Connect project.
Adding Measurements to a ZEN Connect Project
- You have opened a ZEN Connect project.
- In the Measurement Tab, click on the button for the respective measurement tool.
- In the image view, click to set the points for the measurement. For a distance measurement, set two points, for an angle three and for an area measurement create a polygon that covers the desired area.
- In case of area measurements, the last click has to be at the first point to "close" the polygon. Alternatively, click with the right mouse button to finish the polygonal area.
- The respective measurement is displayed in the view as well as the table of the Measurement tab.
- You have added a measurement to your ZEN Connect project.
See also
Editing Measurements in a ZEN Connect Project
- You have opened a ZEN Connect project and added a measurement, see Adding Measurements to a ZEN Connect Project.
- In the button bar below the Image View, click
 .
. - You are now in edit mode.
- To resize measurements, click on the end points of a measurement to drag and drop them. In case of an area measurement, you cannot rescale the contour.
- The measurement values are updated instantly.
- To move a measurement, drag and drop the respective measurement in the Image View.
- To change the Name of a measurement, double click on the current name.
- The name in the field is editable.
- Enter the desired name and press Enter.
- The measurement is renamed.
- To change the color of the measurement itself or the text showing the measured value, in the Measurements tab, click the color field for Line or Text respectively.
- A color selection window opens.
- Select the desired new color from the list, or click Custom to select a customized color.
- The color of the measurement or the text is updated instantly.
- To toggle the visibility, click
 for the respective entry in the list.
 - The measurement is toggled (in-)visible.
- To delete a measurement, select the measurement in the list and click
 .
. - The measurement is deleted.