User Interface
The software user interface is divided into three main areas.
|
1 |
Left Tool Area |
|
2 |
Center Screen Area |
|
3 |
Right Tool Area |
Title Bar
|
Parameter |
Description |
|---|---|
|
Help icon |
Activates the "drag & drop“ help function. A question mark appears beside the mouse pointer. Move the mouse pointer to a place in the software where you need help. Left-click on the desired location. The online help opens. |
|
Minimize |
Minimizes the program window. |
|
Maximize Over 2 Screens |
Maximizes the program window across 2 screens if available. This option is only possible if you are working with 2 screens with the same resolution. |
|
Maximize |
Maximizes the program window to the main screen. |
|
Restore Down |
Reduces the program window to any selected size. |
|
Close |
Closes the program window. |
Workspace Configuration

Here you find settings to adjust your workspace. Select Light/Dark Design of the user interface or enlarge the screen with Workspace Zoom slider. You can also save and reload all personal settings in a workspace configuration, the name must have at least one character. With the Dock all tool windows button  in the top right corner you can easily dock all undocked tools with one click.
Menu Bar

The menu bar contains all the menus you need for managing, editing, and viewing your projects.
Tool Bar

Here you gain quick access to important functions, e.g. saving or opening files. Further right you find more workspace settings, e.g. Design and Workspace selection. Read how to customize the Tool bar in chapter Customizing Toolbar.
Left Tool Area
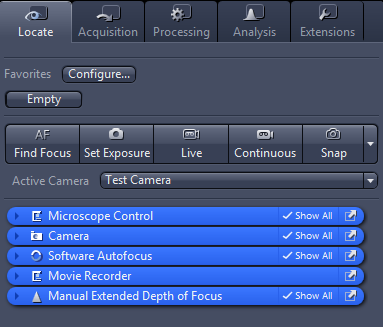
This area contains the main tabs for microscope and camera settings (Locate tab), image acquisition (Acquisition tab), image processing (Processing tab), and image analysis (Analysis tab). The main tabs are organized in an order which follows the typical workflow of experiments in bioscience or material science.
Center Screen Area
The Center Screen Area is structured in 4 areas.
|
1 |
Document Bar |
|
2 |
Image Views |
|
3 |
View Options |
|
4 |
Image Area |
Right Tool Area
This area contains mainly the tools for image and file handling (e.g. Image Gallery) and hardware control (e.g. Stage/Focus tool). Depending on your system configuration, other tools can be available. The tools are described in the corresponding chapters of the online help.
See also
Document Bar
Here you see tabs of all open documents. Click on a tab to view the image/document. On the right end of document bar, you find buttons to switch view mode from Exposé to Splitter mode and further view options (View menu).
An asterisk (*) next to an image/document title indicates that changes have been made to this document which are not yet saved. Save your pictures/documents from time to time in order to avoid data loss.
|
Parameter |
Description |
|---|---|
|
|
Opens the exposé view mode. |
|
|
Opens the splitter view mode. |
|
|
Displays the options of the view menu. |


