Having set up all the pre-requisites, we can proceed to image import and registration. The script which we can download here.
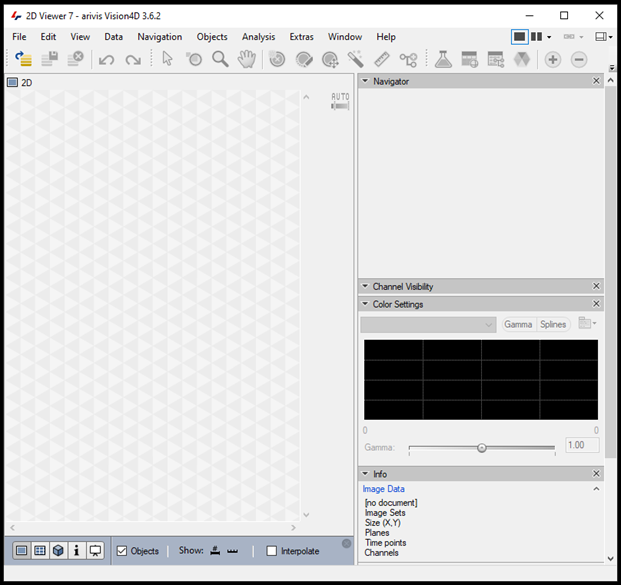
In order to run the image registration script, arivis Pro window must be opened.
- This could be a new window with no imageset open. In this case the new SIS file will be created in the same folder with the czi files are stored.
- If the SIS file is already open/created, the new imagesets will be imported into the existing SIS file. If the existing imageset names are identical, they will be overwritten.
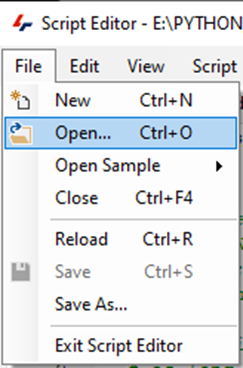
To run the image registration script, the Script Editor must be open in arivis Pro:

The Registration_for_omics_v7.py file can be opened in the arivis Pro Script Editor:
Several script variables must be customized by the customer, and are explained in the text below.
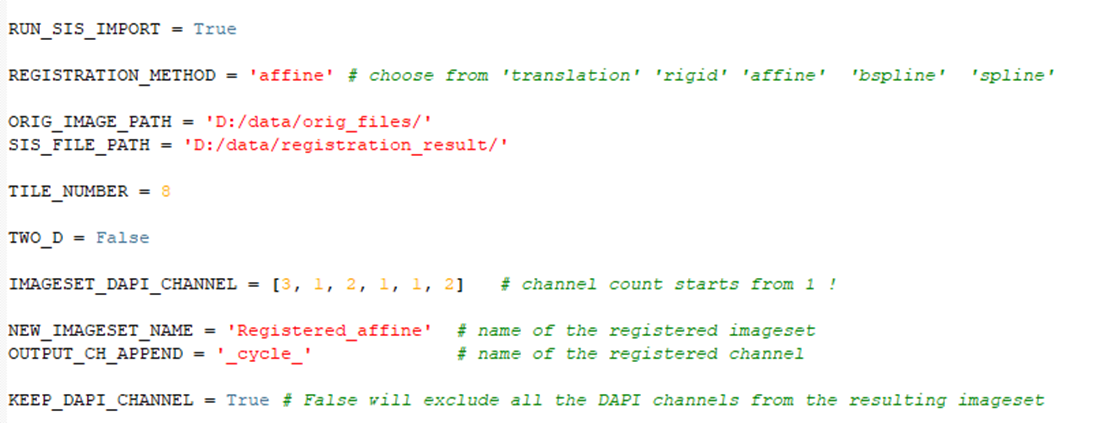
1. Path to the original files must be provided:

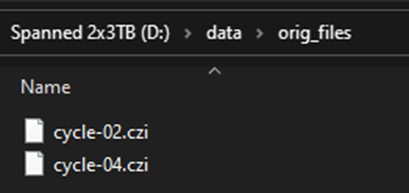
Note:Each image file must have ’-00’ (a dash symbol and a number) and the end of the filename. The file with the lowest number will be the fixed imageset and all the following images will be registered to this first imageset. The folder should have at least two images to run the registration on.
2. We need to provide the path to the folder where the imported and the resulting SIS file will be stored:

Alternatively, the file import can be run earlier. The SIS files for each of the cycles must be opened in separate arivis Pro windows at the same time. If the imports were run earlier, we need to indicate this:

If the import is run from the script as the first part of the workflow, the empty arivis Pro window will be opened. The Import Dialog window will open. We need to run the import using the Tile sorter option, but do not start the stitching process:
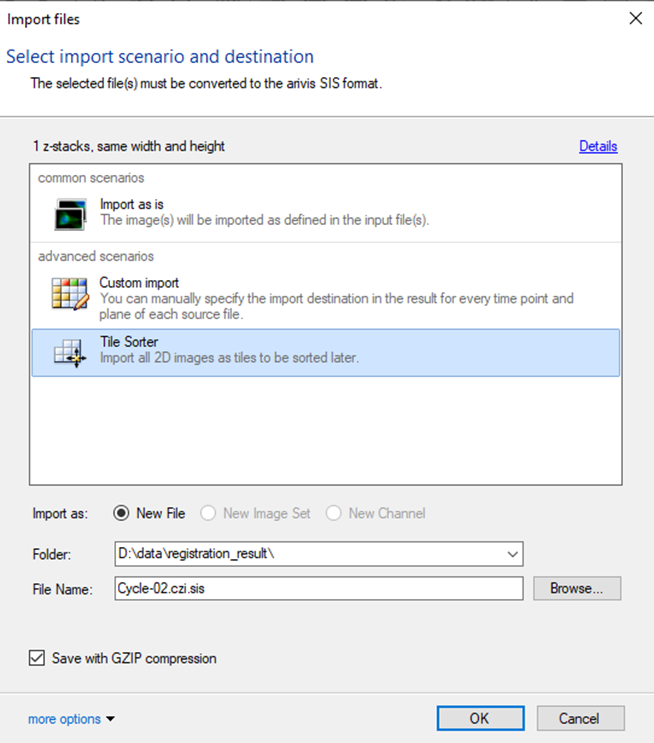
Important: if the SIS file conversion is run earlier, the import should be run the exact same way using the Tile Sorter import scenario.
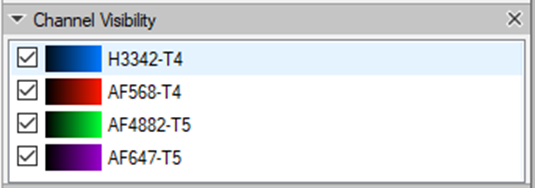
We need to provide the channel with the nuclei staining (i.e. DAPI, Hoechst) for each of the images/cycles in the experiment. The channel count starts from one. The number of the image files in the import folder or open SIS files must be identical or shorter than the number of channels in the IMAGESET_DAPI_CHANNEL list.

The number of the channel with the nuclei staining (for registration) can be checked in the working panel:
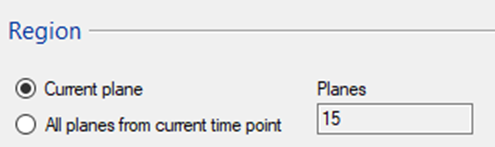
The tile number must be identical for every image stack in the experiment, as well as the Z spacing. The number of planes in each cycle image may differ. The registration result will have the same number of planes as the fixed ImageSet (cycle_01).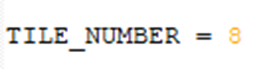
The workflow is applicable both on 2D and 3D image stacks. For the 3D images, the thickness of the single tile stack is computed based on the total number of planes in the stack divided by the number of tiles, provided by the customer. For the 2D images, please indicate: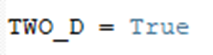
Next, we need to select the registration method:

as well as the name of the resulting SIS file and the registered channel names:

We may choose to exclude all the subsequent nuclei staining channels from the final imported file. If KEEP_DAPI_CHANNEL is set to False, we will only import the nuclei staining channel from the first image/cycle:

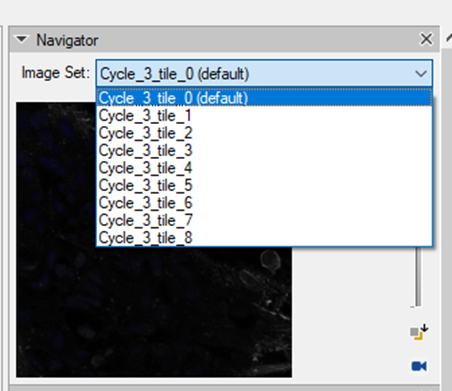
Once the registration process is finished, there will be an imageset created for each tile separately containing all the channels from all experimental cycles:

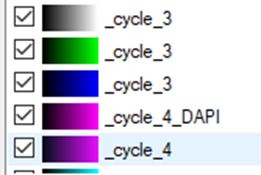
Each channel will be labeled according to the cycle in the experiment. The DAPI channels, if we decide to import them, will the renamed accordingly.
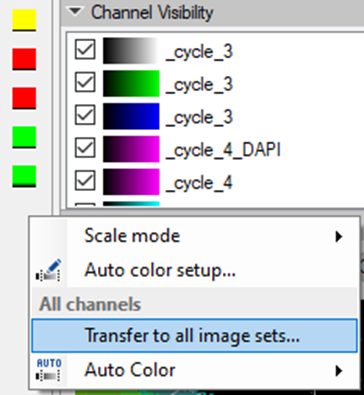
To set the same color settings for all imagesets prior to stitching them in the Tile Sorter, we need to set the preferences for one imageset and apply them on the rest of the images:
Stitch the mosaic image in Tile Sorter.
Image stacks will all the registered channels from the imaging cycles are imported separately and need stitching in the following step. The final image will be created from the individual imagesets all imported into one resulting SIS file.
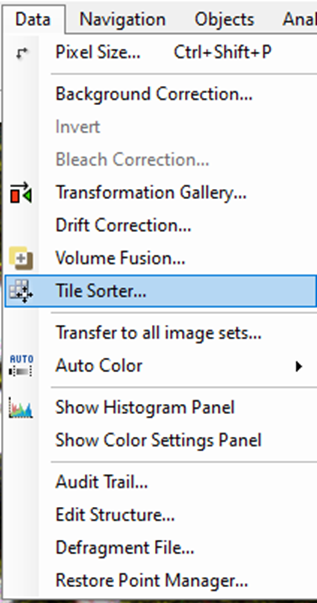
First, we need to call the Tile Sorter:
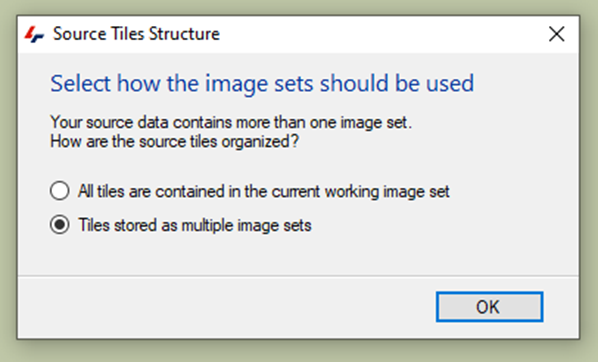
The following massage will appear.

We need to confirm and press Yes.
The following massage will appear:
In the Tile Sorter menu, we can adjust the number of rows and columns, or their order:
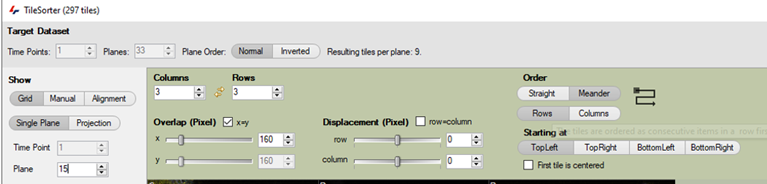
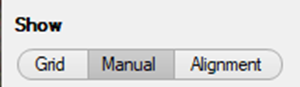
In the Tile Sorter menu, we can first arrange the tile positions as a grid:
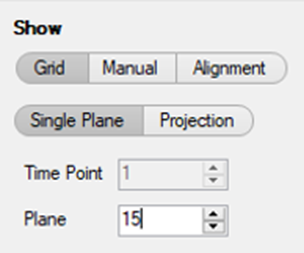
Note: In addition, it is useful to go to the middle plane of the 3D stack or make a Maximal projection.
Next, the positions of the tiles can be adjusted manually:
The resulting stitched image can be imported into the same imageset or as a separate (new) SIS file.
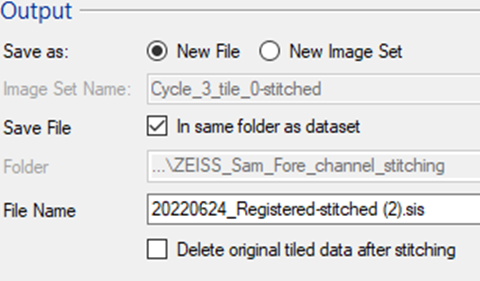
Note: For the large file it is often worth first exporting and testing the alignment on a single plane and only stitching the entire 3D stack afterwards.