Creating and Training an Intellesis Object Classification Model
- You have licensed the AI Toolkit and activated it under Maintenance > Toolkit Manager.
- You are in Manage Templates.
- You have a CZI image with image analysis results. For detailed information on analysis, see Image Analysis.
- For Show, select Intellesis Object Classification Models.
- In the top right tool bar, click
 .
.
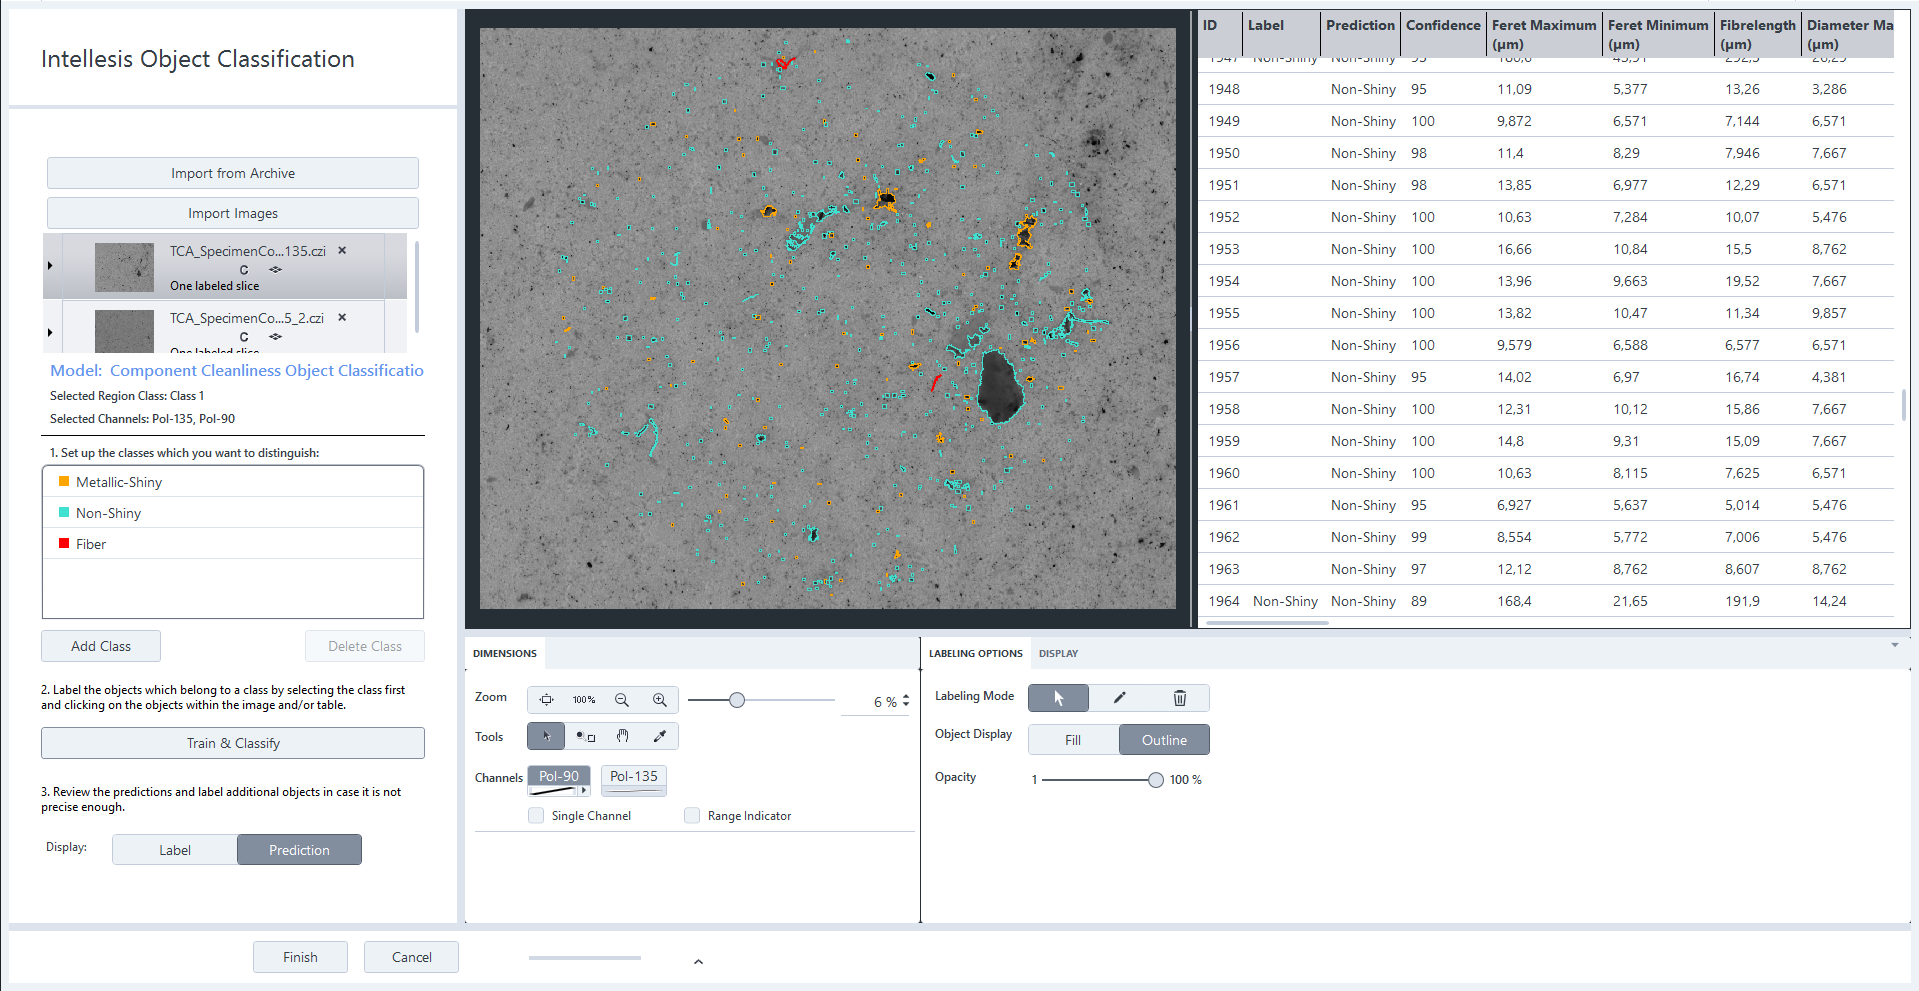
- The user interface for training opens, see Training User Interface Intellesis Object Classification.
- In the top left corner, click Import Images. To open an image from the archive, click Import from Archive.
- A file browser or the archive browser opens.
- Select the image for training from the file system and click Open. When loading the image from the archive, select the image and click OK.
- If the image analysis contains more than one class and channel, the Select Region Class and Channel(s) dialog opens.
- Select the region class and the channels you want to use for classification and click OK.
- The image is displayed in the list. Note that all imported images are included in your model.
- If you have imported an image from the archive, it is copied to the location defined under Maintenance > General Options > Intellesis.
- Select the image from the list.
- The image is displayed, and the table shows the data of the analysis result.
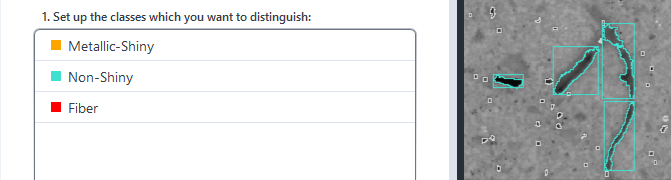
- On the left side, add as many classes as you need for your object classification by clicking Add Class.
- You have created the classes that you want to distinguish.

- To change the label color for a class, click on the color field of the list entry and select one from the window.
- To rename a class, right click on the entry, select Rename, enter a new name and click
 . Alternatively, double click the name entry, enter a new one and click , or press Enter.
- In the Labeling Options tab, click
 .
.
- You are now in labeling mode.
- In the classes list, select a class and click on an object that belongs to this class in the image or in the table.
- You have labeled the object and assigned it a class.
- Repeat the labeling for the objects of the different classes you created.
- Click Train & Classify.
- Your model is trained based on the labeling and a prediction is displayed.
- If you are not satisfied with the result, you can label more objects, click Train & Classify again, and iteratively improve your results.
- When you are satisfied with the result, click Finish.
- All changes are saved, and the training interface is closed.
- You have successfully created and trained a model for object classification. You can now use it to classify objects in your analyzed images with the Intellesis Object Classification tool, see Using an Intellesis Object Classification Model for Image Processing.