Using Focus Support Points for Tile Images
- You have selected a tiles workbench, e.g. Tiles (interactive).
- You have set up a tiles acquisition (e.g. 3x3 tiles).
- Click + Tool to add a tool.
- Double-click the Focus Correction tool.
- The tool will be added to the workbench.
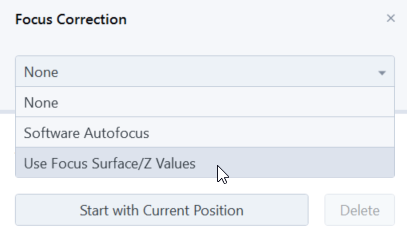
- In the Focus Correction tool, select Focus Surface.
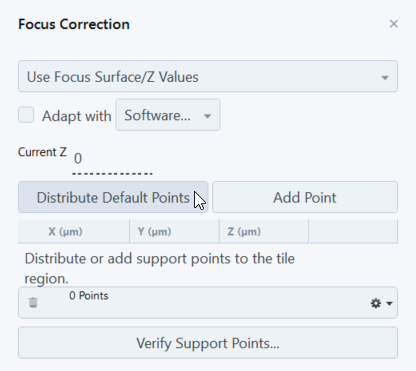
- Click Distribute Default Points.
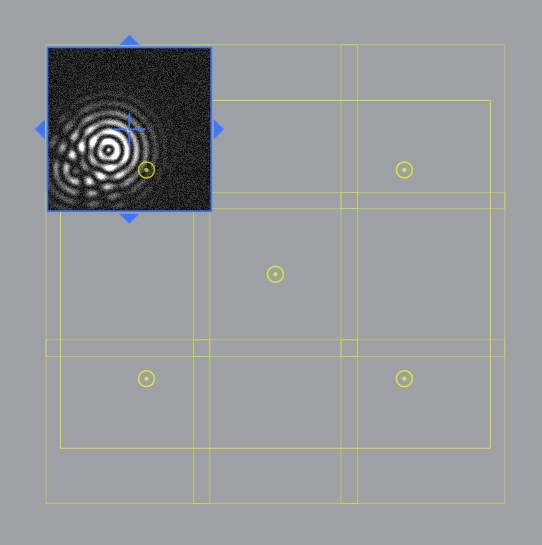
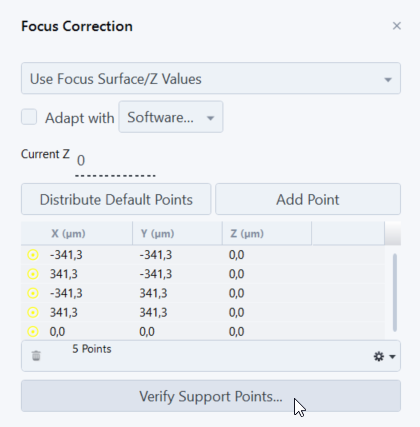
- 5 support points are added to the tiles acquisition.
- Click Verify Support Points to check each point, if the focus is set correctly.
- The Verify Support Point dialog will open and the stage moves to the first support point.
- Check if the image is in focus. If not, refocus the image. We recommend to use the Software Autofocus to help you find the correct focus setting. If the Software auto focus does not work fine, you can set the focus manually.
- Click Set Z & Move to Next if the focus is set correctly for the current support point.
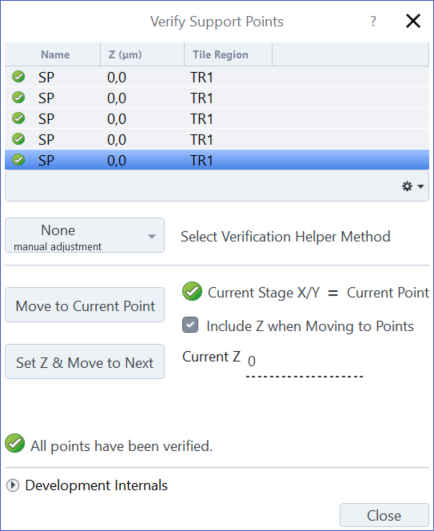
- The stage will move to the next support point. Repeat the verifying process until all support points are verified.
- The message All points have been verified appears in the dialog. Click Close to exit the dialog and start the tiles acquisition.