ZEISS Microscopy Knowledge Base
Help
ZEISS Microscopy Knowledge Base
Search
Installing Basler Pylon (for Visioner systems)
Installing Pylon USB3 Vision Driver
- You have read the chapter Configure security software attentively.
- You have opened the ZEISS Microscopy Installer with admin rights and you are logged in.
- Your system is connected to the Internet.
- You have selected (default setting) the online installation, see ZEISS Microscopy Installer manual.
- Open the Install tab.
- Go to ZEN Core / ZEN starter > Third Party Hardware Drivers and activate Basler Pylon for Visioner.
- Activate I agree to the Terms and Conditions of the selected software.
- Click Install.
- The selected components are downloaded and installed. A progress bar shows the current status.
- A Welcome dialog is displayed.
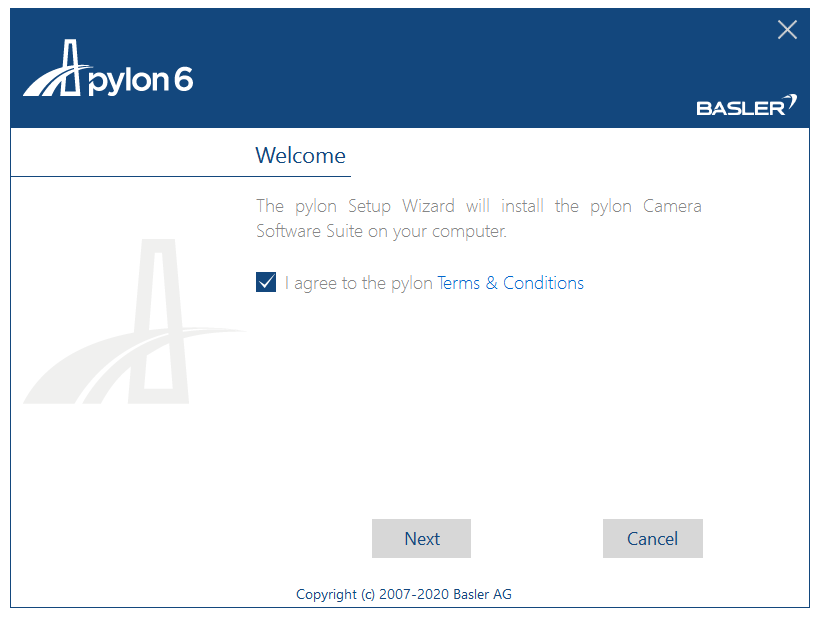
- Activate I agree to the pylon Terms & Conditions, and click Next.
- The Profiles dialog is displayed.
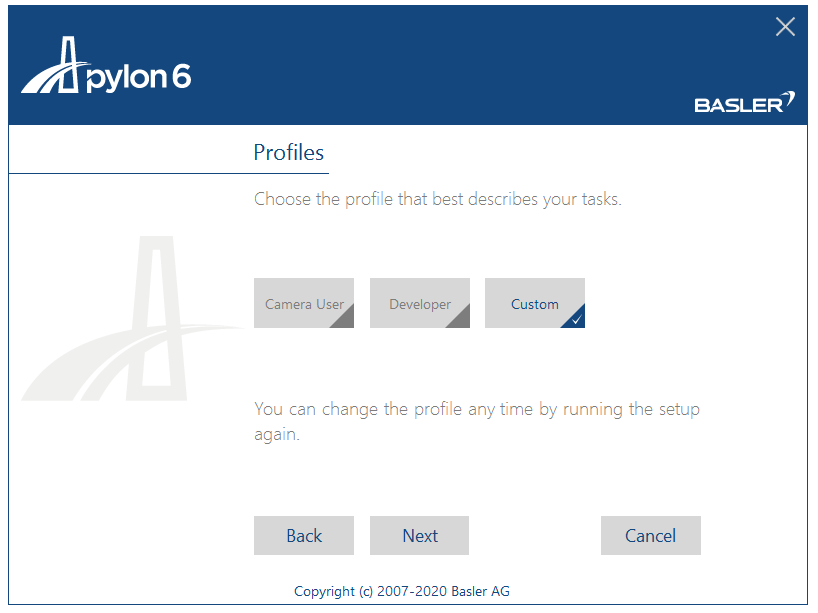
- Click Custom, and click Next.
- The Features dialog is displayed.
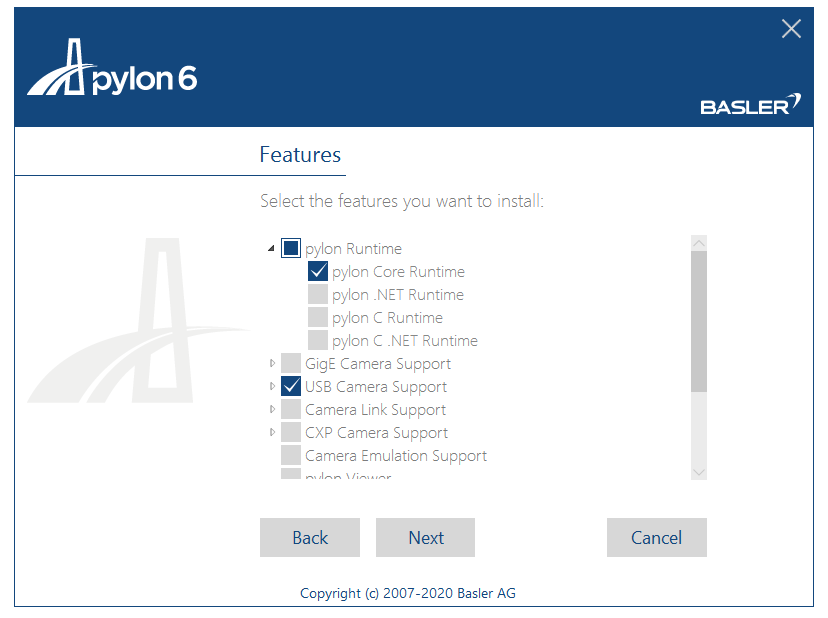
- Activate the following features:
- pylon Runtime > pylon Core Runtime
- USB Camera Support
- Firmware Updater
Click Next. - The Destination Folder dialog is displayed.
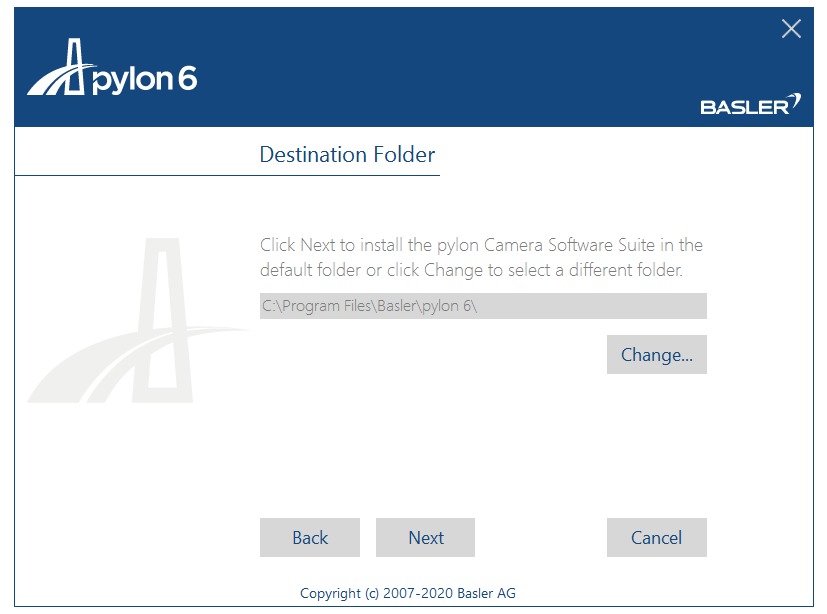
- Click Next.
- The Ready to Install dialog is displayed.

- Click Install.
- The installation starts. The Installation dialog is displayed.
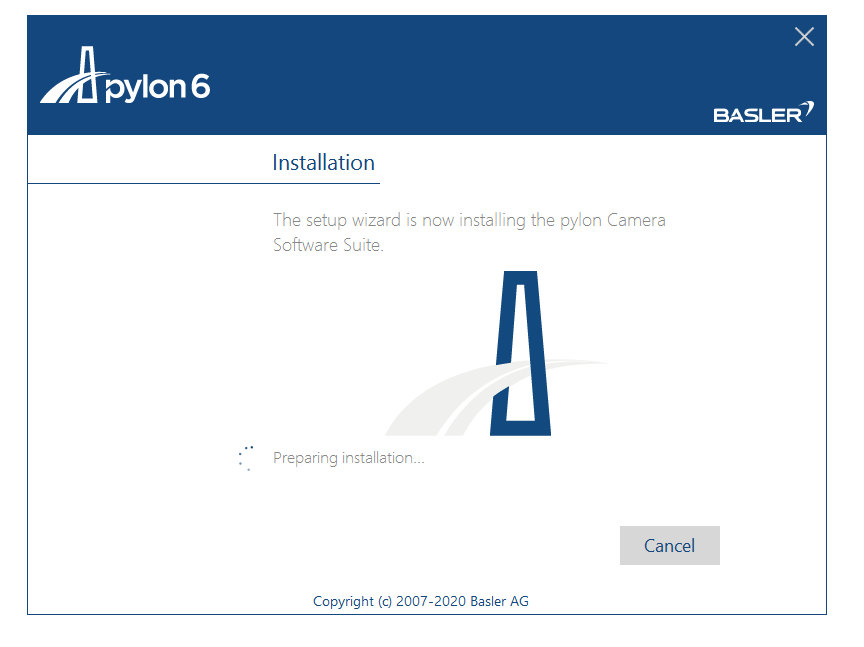
- Wait until installation has finished.
- The following dialog is displayed.
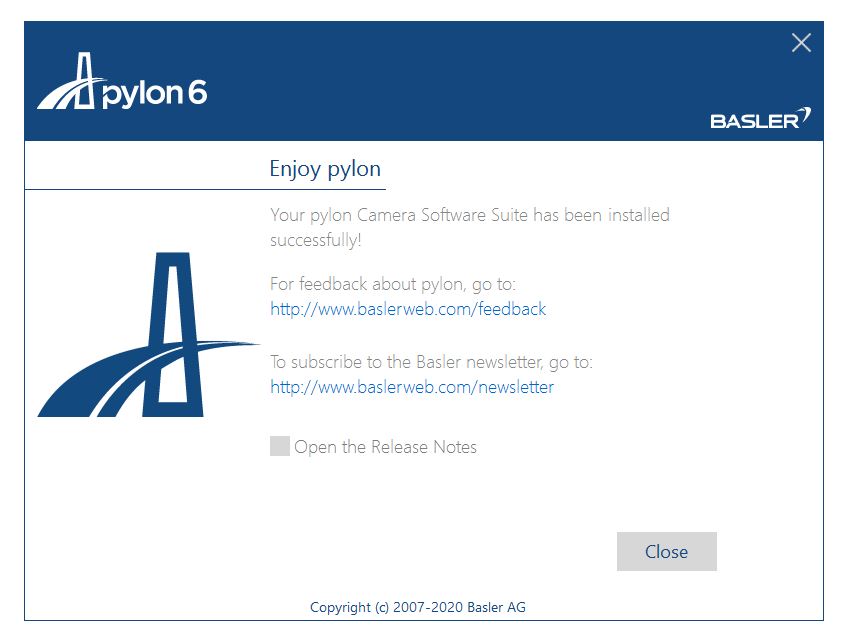
- Click Close.
- You have installed the Pylon USB3 Vision driver.
Installing Foot Switch
- With the USB cable, you have connected the foot switch to your PC.
- You have inserted the CD of the foot switch.
- Navigate to the CD in your file explorer, and double-click Usbhid Keyboard 2.40.exe to start the installation.
- The following dialog is displayed.
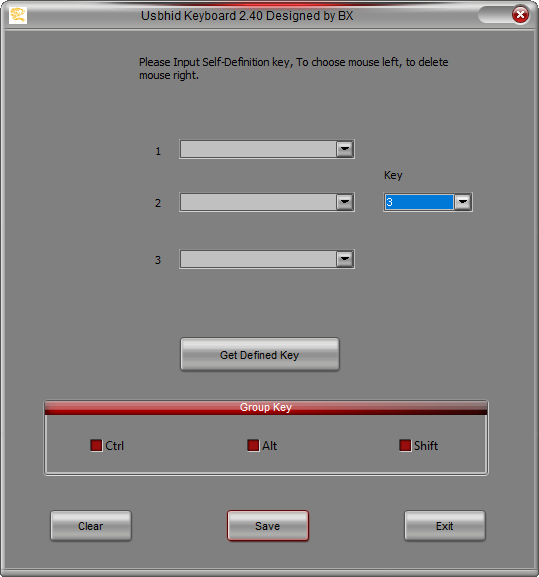
- Click Get Defined Key.
- The actual configuration of the foot switch is read out.
- Select field 1 to highlight the field and press the F2 key.
- F2 is displayed in field 1. You have activated the key in field 1.

- Click Save.
- A confirmation message is displayed.
- Click OK, then click Exit. Remove the DVD.
- You have installed the foot switch.